
In recent years, a substantial number of requests have been received from users to incorporate a backup feature into the application. While the application currently lacks an automated cloud-based synchronization mechanism for backing up goals, a manual backup feature has always been available. This functionality enables users to manually create backups of their goals within the application, providing a safety net in the event of data loss due to device failure or accidental deletion.
We prioritize user privacy by not employing cloud-based backup, ensuring that data is retained solely on the user’s device. This approach guarantees complete control over access, safeguarding personal information and aligning with our commitment to privacy. During the manual backup process, users can select cloud-based services such as Google Drive as the storage location for their backup.
The purpose of this blog post is to provide a step-by-step guide on how to back up goals to a cloud storage provider. In this blog, Google Drive will be used as an example, but the same principles can be applied to other similar platforms.
Step 1: Update to the Latest Version
Ensure that you are utilizing the most recent version of the Lifetime Goals application. Proceed to the Google Play Store to download the update if it has not already been installed.
Step 2: Open the App and Navigate to Settings
Launch the Lifetime Goals application and tap on the hamburger icon located in the top left corner, then select the Settings menu. This menu, represented by a gear icon, allows for the customization of the application experience.

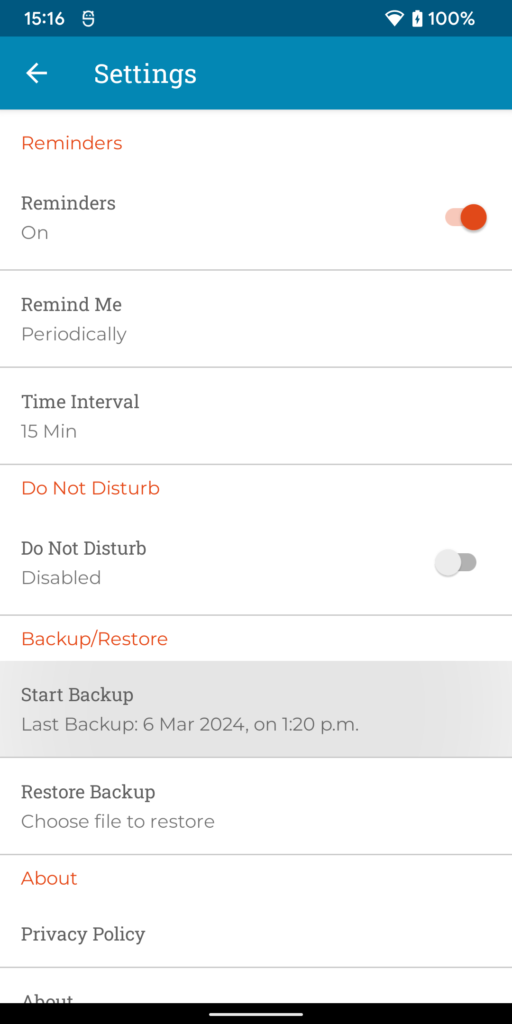
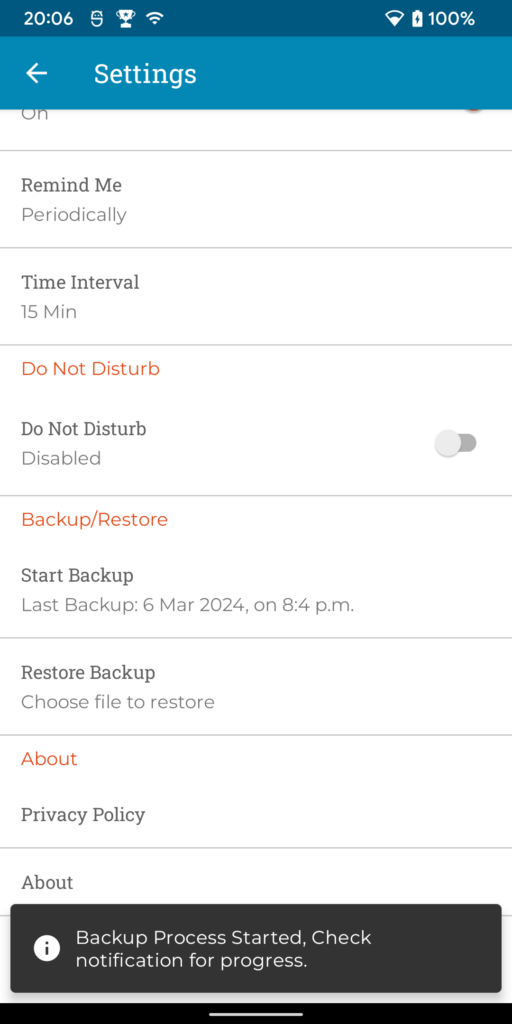
Step 3: Locate the “Backup & Restore” Option
Within the Settings page, identify the “Backup & Restore” section and tap on the “Start Backup” option. This is where the backup process is initiated. Tap on it to proceed.
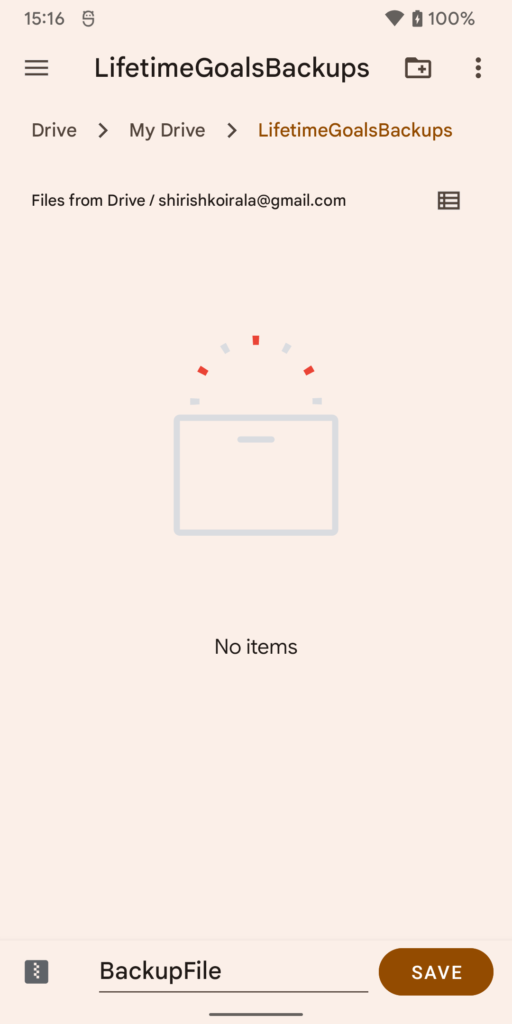
Step 4: Choose Google Drive as Your Backup Option
Selecting “Start Backup” will open a file manager dialog, allowing you to choose the desired location for storing the backup file. By pressing the hamburger icon, a drawer can be opened, providing access to various sources. All online drive services can be found there.
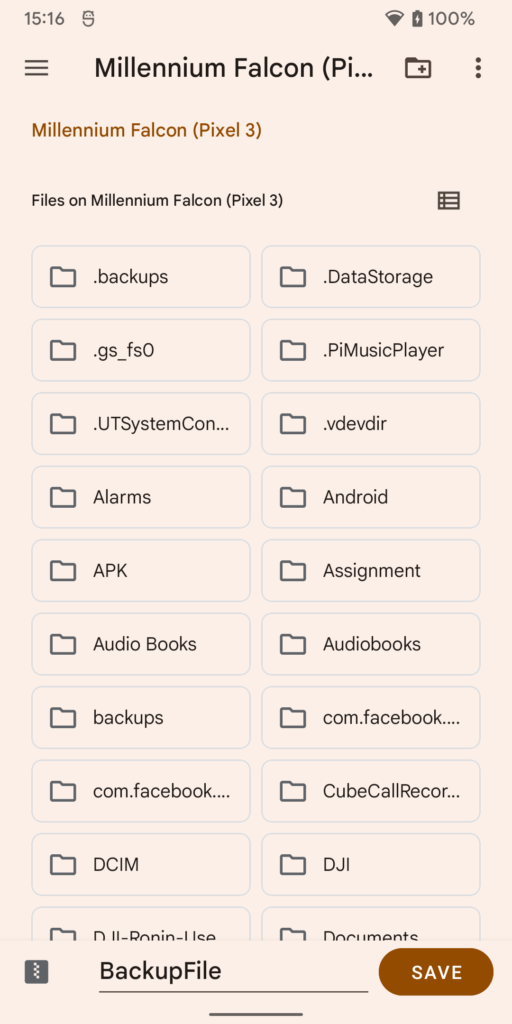
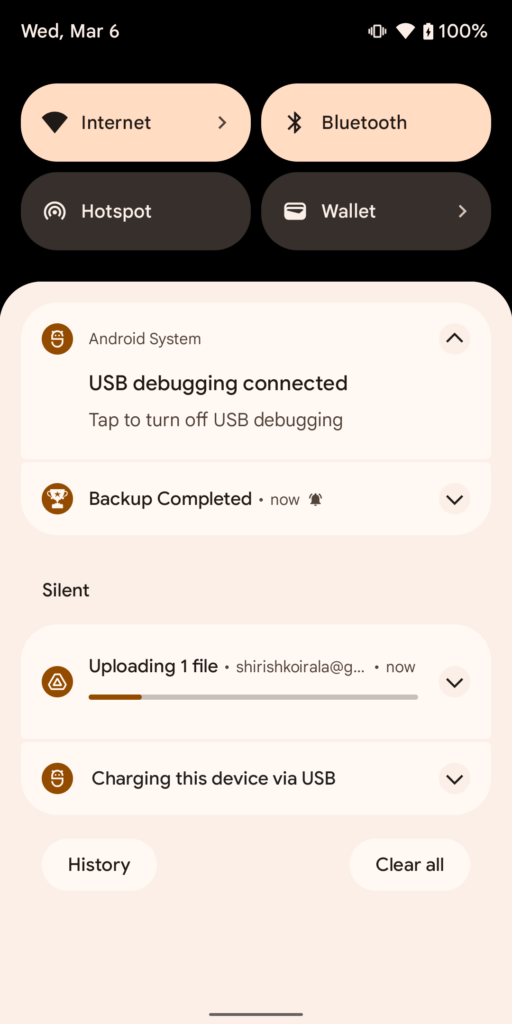
Step 7: Confirm and Start Backup
Once a folder has been selected, click on the “Save” button. Your goals will be securely stored on Google Drive.
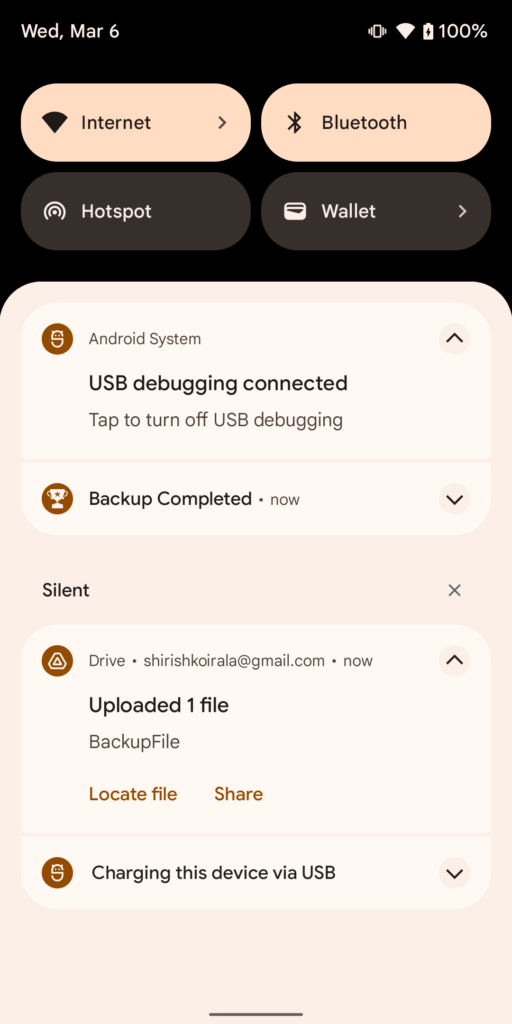
Step 8: Access Your Backed-Up Goals
Should you ever need to restore your goals or access them from another device, return to the “Backup & Restore” section. Here, you can follow the same steps by selecting the “Restore Backup” option.
And that’s it! Your goals are now safely backed up to Google Drive.